
Sourdough Mastery: Tips for Perfect Homemade Bread
Making sourdough bread at home can seem daunting, but with the right techniques and a little patience, you can create a delicious loaf that rivals any bakery. This guide will walk you through the essential steps to achieve sourdough mastery, from understanding the ingredients to perfecting your baking technique.
Understanding Sourdough
Sourdough bread is unique because it relies on natural fermentation rather than commercial yeast. This process not only gives the bread its distinctive flavor but also contributes to its texture and nutritional benefits. Here’s what you need to know:
The Role of the Starter
A sourdough starter is a mixture of flour and water that captures wild yeast and bacteria from the environment. This starter is the heart of your sourdough bread. Here’s how to create and maintain a healthy starter:
Ingredients: Use equal parts of whole wheat flour and water to start. Whole wheat flour contains more nutrients, which helps the yeast thrive.
Feeding: Feed your starter daily with equal parts flour and water. This keeps the yeast active and ready for baking.
Signs of Readiness: Your starter is ready to use when it doubles in size within 4-6 hours after feeding and has a pleasant, slightly tangy smell.
The Science of Fermentation
Fermentation is the process where yeast and bacteria break down sugars in the dough, producing carbon dioxide and organic acids. This not only helps the dough rise but also enhances the flavor. Here are some key points:
Bulk Fermentation: After mixing your ingredients, let the dough rise at room temperature. This can take anywhere from 4 to 12 hours, depending on the temperature and the strength of your starter.
Stretch and Fold: During bulk fermentation, perform stretch and folds every 30 minutes for the first few hours. This helps develop gluten structure and strength in the dough.
Ingredients for Sourdough Bread
The beauty of sourdough lies in its simplicity. Here are the basic ingredients you’ll need:
Flour: Use a mix of bread flour and whole wheat flour for the best results. Bread flour has a higher protein content, which helps with gluten development.
Water: Use filtered or bottled water if possible. Chlorinated tap water can inhibit yeast activity.
Salt: Salt enhances flavor and strengthens gluten. Use about 1.5% of the total flour weight in salt.
The Baking Process
Once your dough has fermented and risen, it’s time to shape and bake. Follow these steps for a perfect loaf:
Shaping the Dough
Pre-shape: Turn the dough out onto a lightly floured surface and gently shape it into a round. Let it rest for 20-30 minutes.
Final Shape: Shape the dough into your desired form (round or oval) and place it seam-side up in a well-floured proofing basket.
Proofing
Proofing is the final rise before baking. You can choose to proof at room temperature or in the refrigerator for a longer, slower fermentation. Here’s how:
Room Temperature: Let the dough rise for 2-4 hours until it has visibly expanded.
Cold Proof: For a more complex flavor, place the shaped dough in the fridge overnight. This can enhance the sourness and improve the crust.
Baking
Preheat the Oven: Preheat your oven to 450°F (232°C) with a Dutch oven inside. This creates a steamy environment that helps the bread rise.
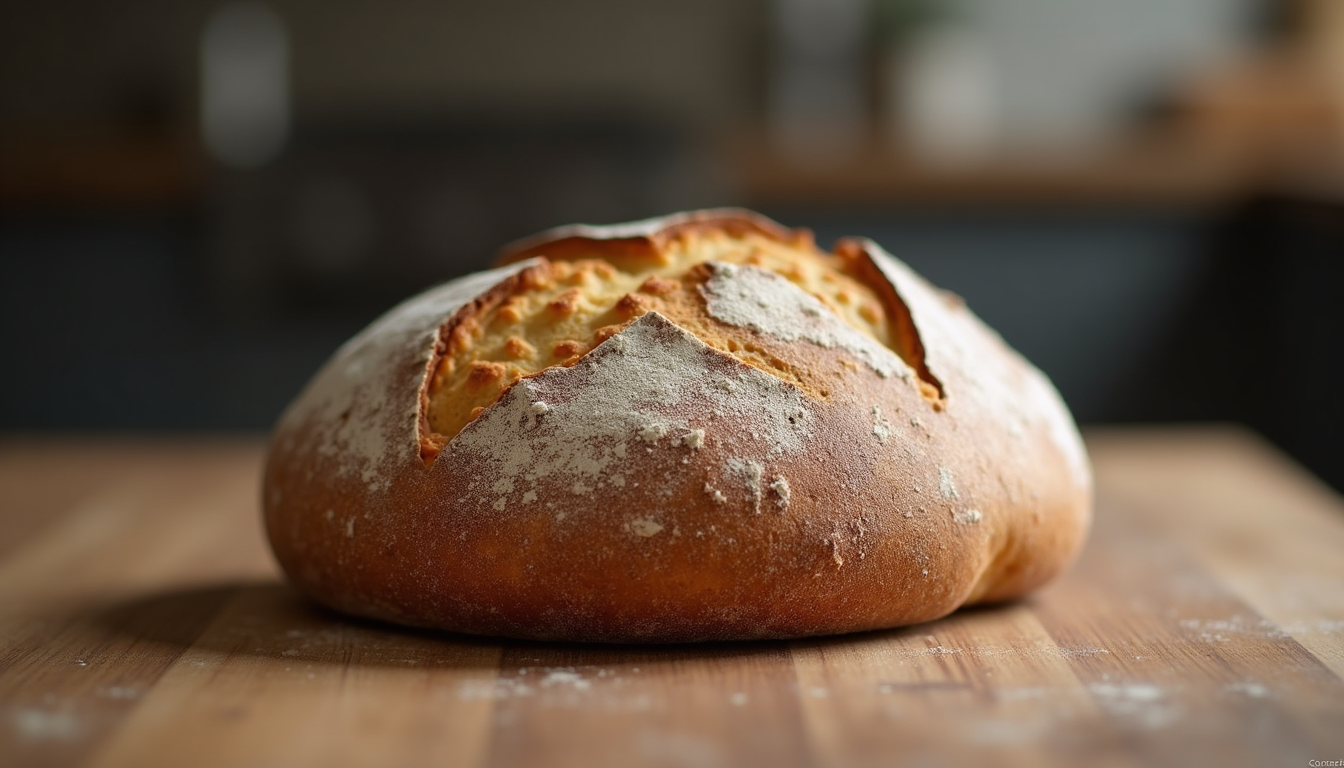
Scoring: Just before baking, score the top of your loaf with a sharp blade. This allows the bread to expand while baking.
Bake: Carefully place the dough into the hot Dutch oven, cover, and bake for 30 minutes. Remove the lid and bake for an additional 15-20 minutes until golden brown.
Troubleshooting Common Issues
Even experienced bakers encounter problems. Here are some common issues and how to fix them:
Dense Bread
If your bread is too dense, it may be due to insufficient fermentation or not enough gluten development. Ensure your dough rises adequately and perform stretch and folds during bulk fermentation.
Flat Loaf
A flat loaf can result from over-proofing. Keep an eye on your dough during the final rise. It should be puffy but not doubled in size.
Crust Issues
If your crust is too hard, try baking with steam for the first half of the baking time. If it’s too soft, consider increasing the baking time or temperature.
Enhancing Flavor and Texture
To elevate your sourdough, consider these tips:
Add-ins: Incorporate ingredients like seeds, nuts, or dried fruits for added flavor and texture.
Autolyse: Allow the flour and water to rest before adding salt and starter. This helps with gluten development and flavor.
Experiment with Hydration: Adjust the water content for a wetter dough, which can create a more open crumb structure.
Conclusion
Mastering sourdough bread takes practice, but the rewards are worth it. With a little patience and experimentation, you can create a loaf that is not only delicious but also a source of pride. Remember to keep your starter healthy, pay attention to fermentation times, and don’t be afraid to make adjustments based on your environment.
Now, it’s time to roll up your sleeves and start baking. Your perfect homemade sourdough loaf awaits!

Comments